Want to personalize or add your own content in your BSD Online classroom? It is possible, as we have the “Info step” which allows you to post a platform or content link and image right inside your own classroom. The Info step is a standalone content that can be added with or without a project or course content in a classroom. Here’s a step by step guide on how-to:
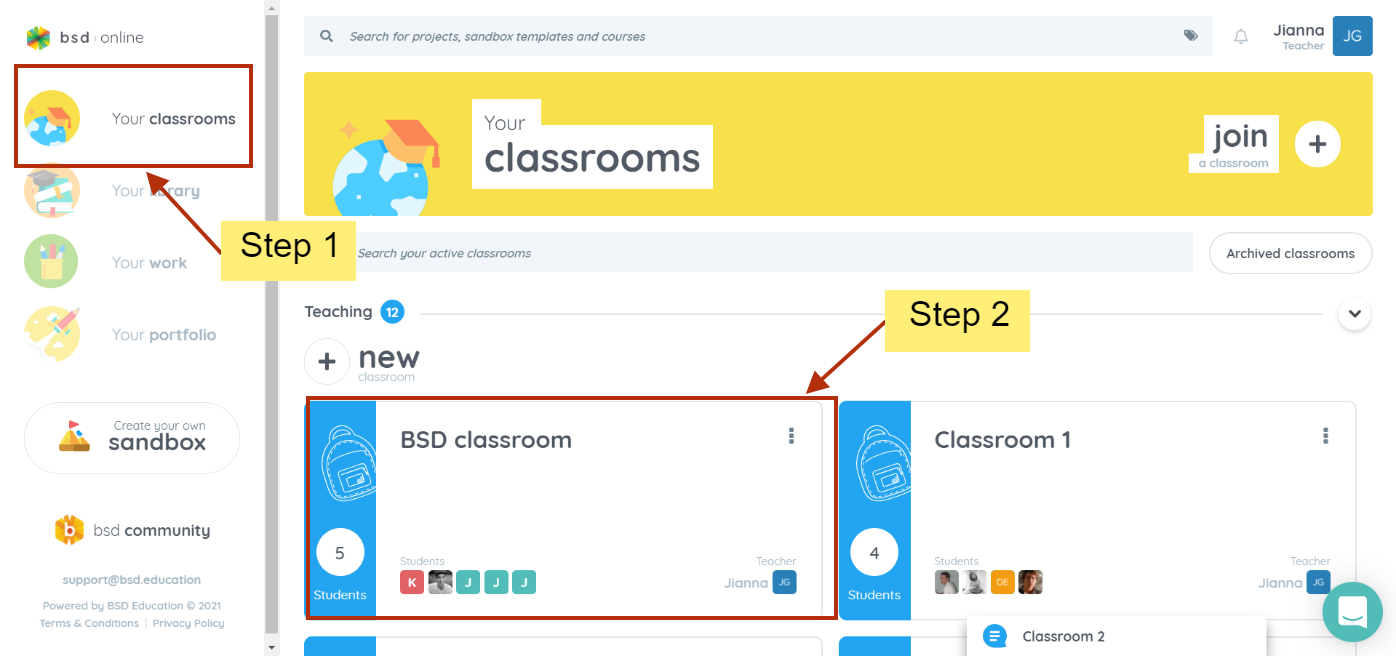
Step 1: Go to “Manage classrooms”
Step 2: Click “Your classrooms” and go to the classroom you want to add the “Info step”.
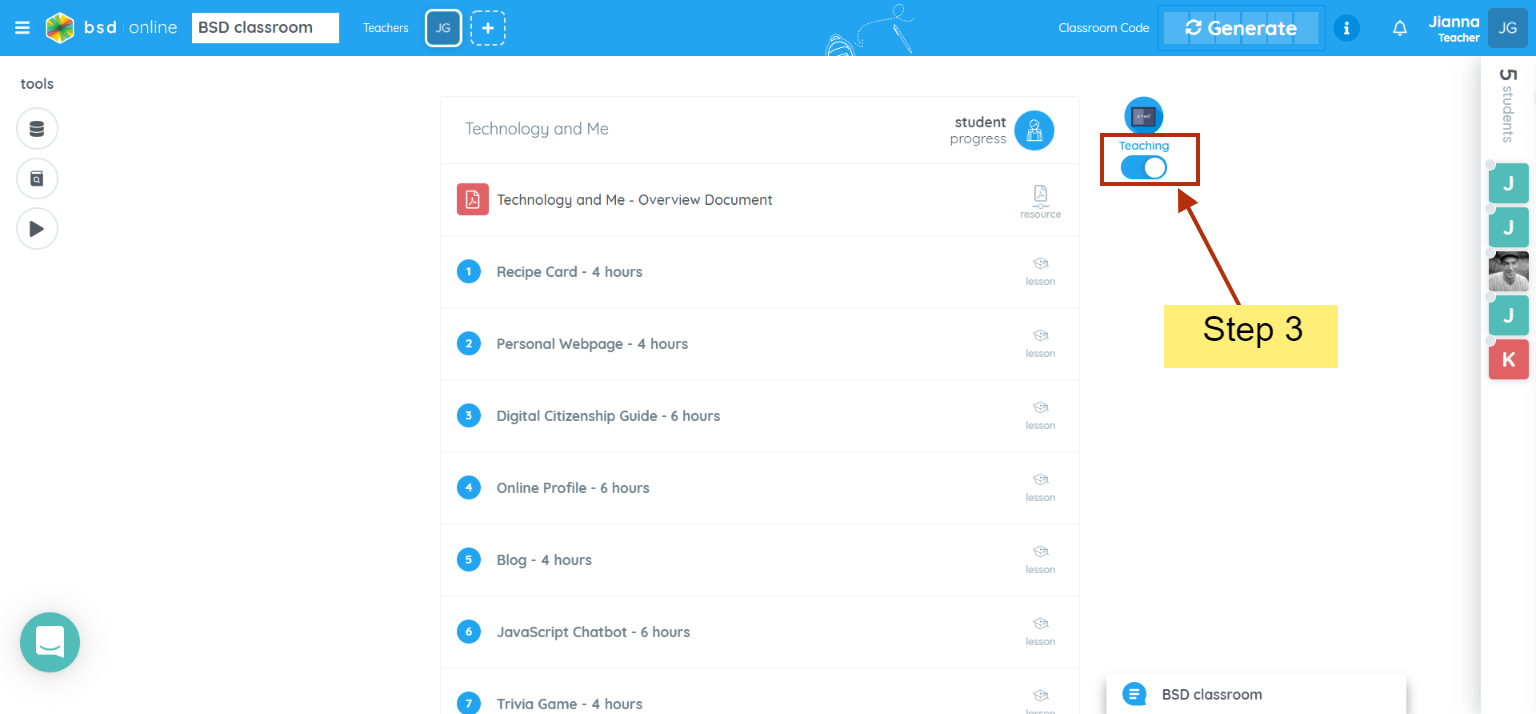
Step 3: Click the “Teaching” mode to toggle from Teaching to Editing mode
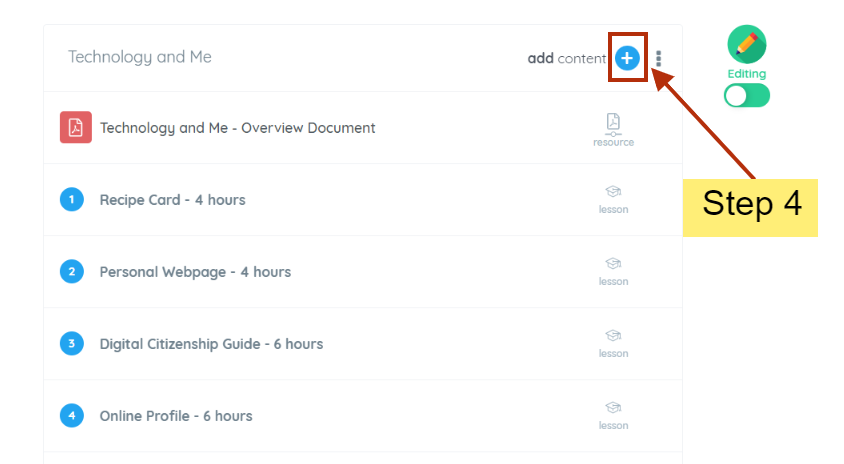
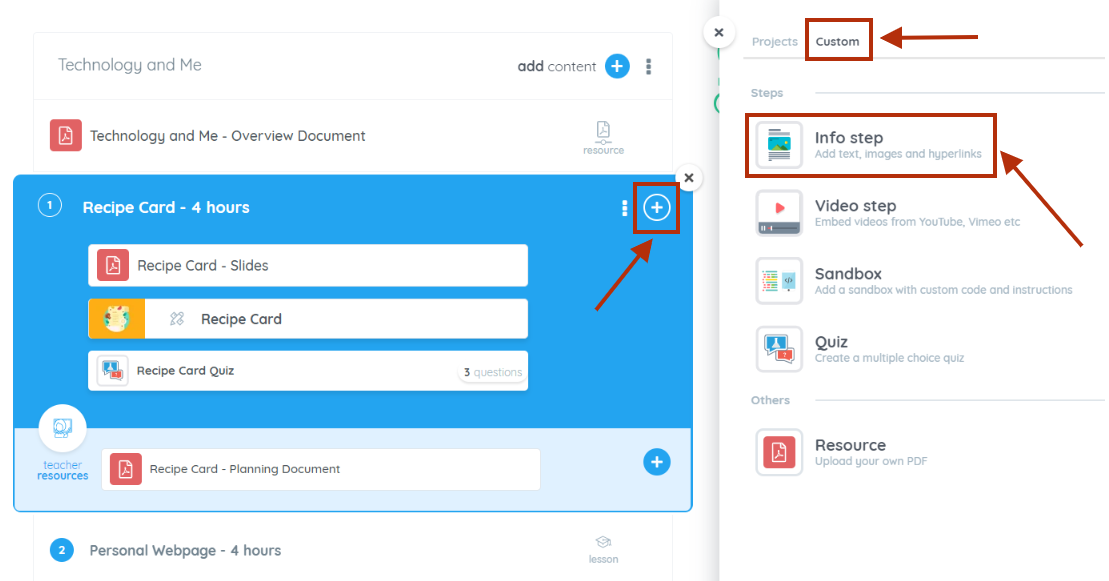
Step 4: Click the “+” icon to see the list of contents available to the classroom.
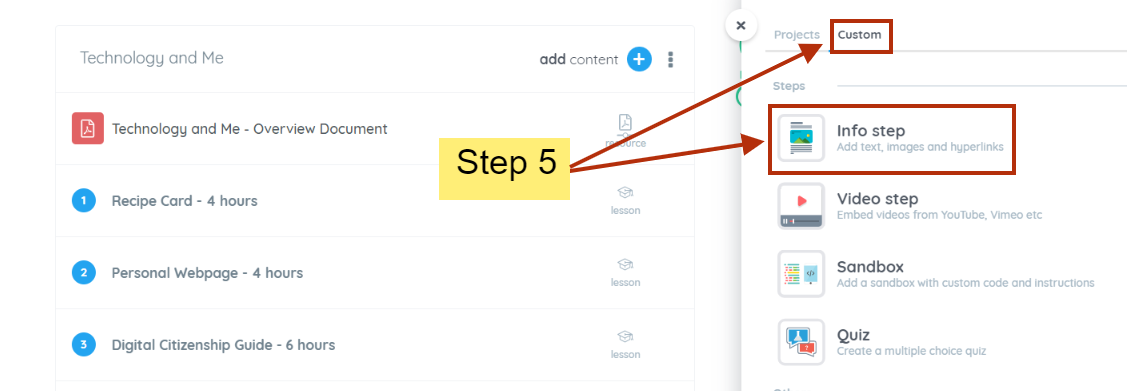
Step 5: Click the “Custom” tab and select “Info step”.
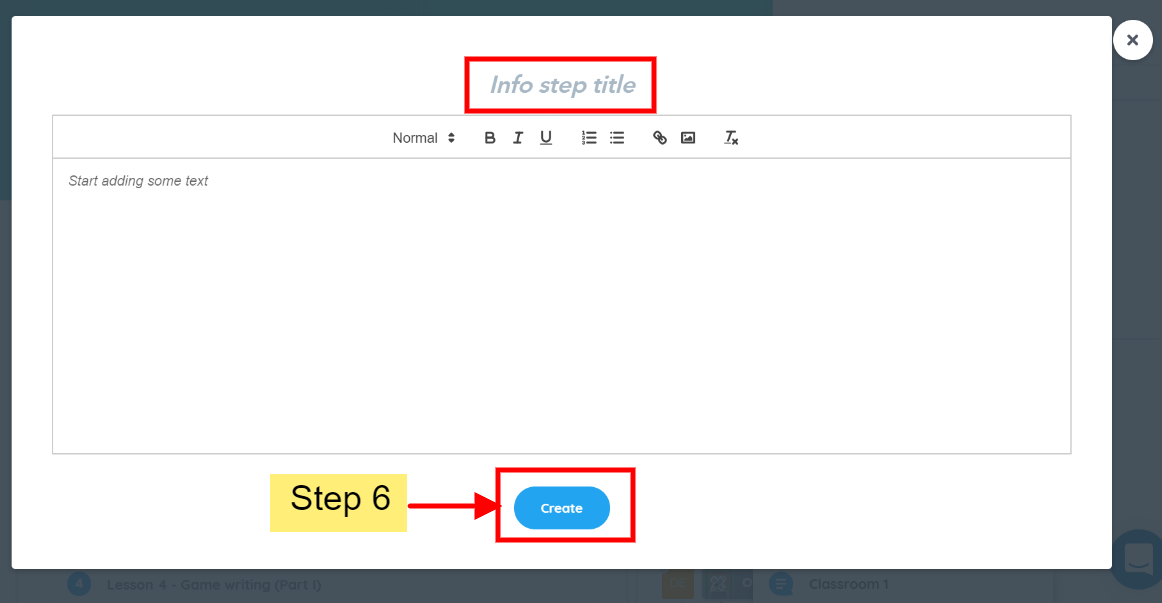
Step 6: Rename the “Info step” and then click “Create” to confirm.
6a: Here is a gif to show you what you can put in an Info step.
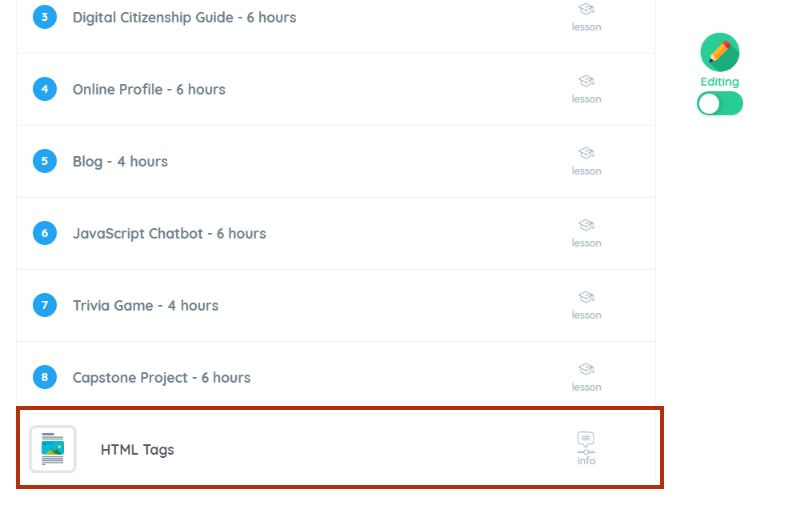
6b: The Info step will go directly at the bottom of the course list.
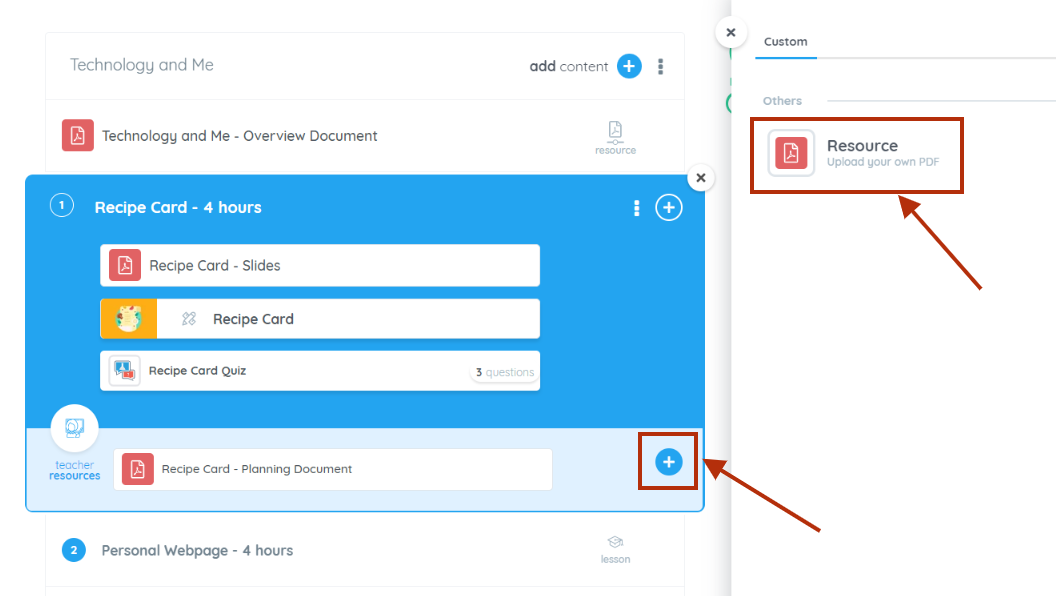
6c: Adding the info step inside the specific lesson is possible. First, click the lesson where an info step wishes to be added. Then click the + icon right next to the lesson title and select the info step from the custom tab.
Note: There are two resource sections per lesson - teacher’s resource section (section with a light blue background where the teacher resources are placed) and student’s resource section (section with a dark blue background where the activities are placed). The info step can only be added to the student’s view section. However, for the teacher’s resources section, only custom “Resource” is available to use.
Student’s view section
Teacher’s view section
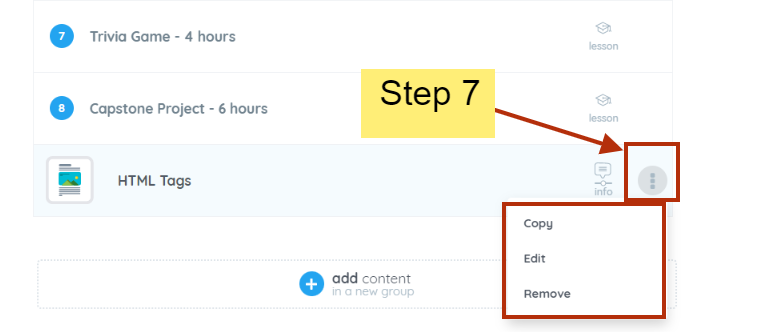
Step 7: To resequence, drag the info step to the place you want it to be. To delete and edit, hover over the Info step to see the three vertical dots.
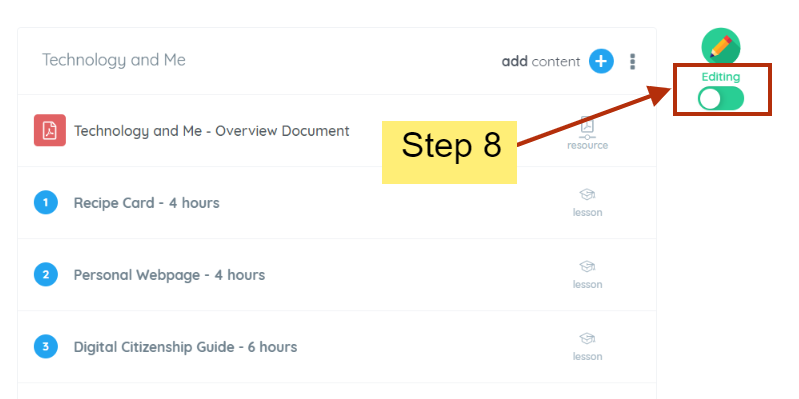
Step 8: Toggle to switch the mode from “Editing” to “Teaching” mode.
There you go, you have now learned how to add your own step into your classroom and customize it. Keep posted here in the BSD community to learn more about BSD Online features and how you can use them in your classroom.