Saving Piskel Images
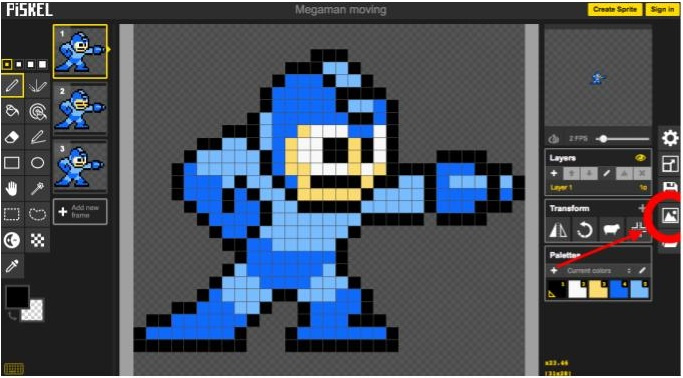
Step 1: Click the “Export” button on the right side of the screen. This will cause the Export menu to slide out, allowing you to choose further options.
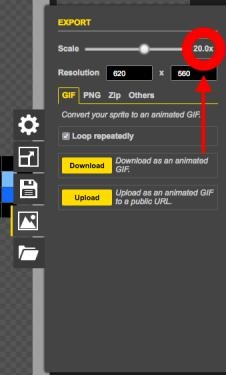
Step 2: Slide the “Scale” up to “20.0x”. The numbers in the “Resolution” boxes should be in the 400-700 range.

Step 3: If the image is a gif (moving), click the first “Download” button. The text next to the button will say “Download as an animated GIF.” This will prompt you to save the image to your computer.
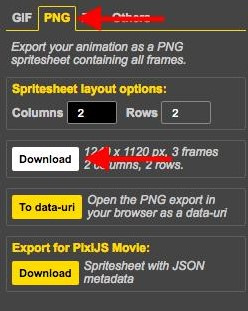
Step 4: If the image is a PNG (not moving), click the PNG tab, then select the first “Download” button. The text next to the button will display information about the image, including its size (“px”). This will prompt you to save the image to your computer.
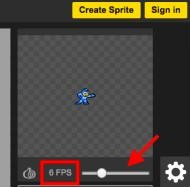
Note: You can control the speed of GIFs in Piskel. This is done using the “FPS” slider in the upper right corner of the website. Above it, the animation you are creating will display as a preview.